Showing posts with label diy. Show all posts

Monday, June 13, 2016

DIY detox water

Make your own detox water at home. All you need is a cucumber, lemon and mint. I happened to have some Rosemary at the house so I added a sprig of that to mine. I like drinking mine on an empty stomach. I feel like it helps you to eat less and also allows the body to absorb the nutrients better. 


For a 59 ounce bottle ( I used an old tea container) I used one full lemon half a cucumber in about one fourth cup of fresh mint leaves put it all in the container and fill with water and the next day you have refreshing detox water. This water is good for your skin, muscles and also helps to flush out toxins and extra water weight. Overall,  it's a good way for you to stay hydrated. It's especially beneficial for those who don't like to drink water, like myself. Have you tried making your own detox water? If so, what's your favorite blend?

Thursday, May 8, 2014

How to: Scrunch Bottom Bikini


So I only thought about doing a blog post half way through when I was making these bottoms, which is why there are so few pics. I will post the video I saw on youtube on how to make these at the end of this post.. Luckily they are super easy to make and only took me about 5 minutes from start to finish. 
Turning a regular pair of bikini bottoms into scrunch bottoms works especially well if your bottoms are a little too big, or if they got stretched out due to wear. 

 Mark a line down the middle as far down as you want it to go, the further down you go the more bottom cheek your going to show. This was my first go at it so I think I went a little too far down, but you get the idea. Also, you can remove the back liner if you want it to sit more flush against your skin. In the video the girl removes the back liner, I just left it alone in mine since I just plan on using these to tan in my backyard.


Just sew it straight down in an in and out motion and add a few extra stiches to the top when you start and the bottom when your down to secure it. It's super fast and easy and even if you never sewed before you can do it. 


Here's the youtube how to video. 

Friday, November 8, 2013

DIY Perfume/Cosmetic/Jewelry Tray

I got this antique frame at a flea market. The seller told me it came out of an old southern mansion in the city that was being restored. I thought it looked so ugly as it stood, but saw the potential in it as a vanity tray and knew it would look great in my Etsy shop. I bought it, sanded it down really well, gave it 2 coats of primer, and then applied a metal pewter finish paint on it. 

 I also got this really pretty decorative leather print type paper at Michaels for it. 
 Here it is all done up and accessorised with makeup, jewelry, and perfume. I love finding old frames and upcycling them into something new. 

Head over to my Etsy shop to see another tray and other newly listed items. 


Tuesday, May 21, 2013

C&C Collection on Etsy + Coupon Code!

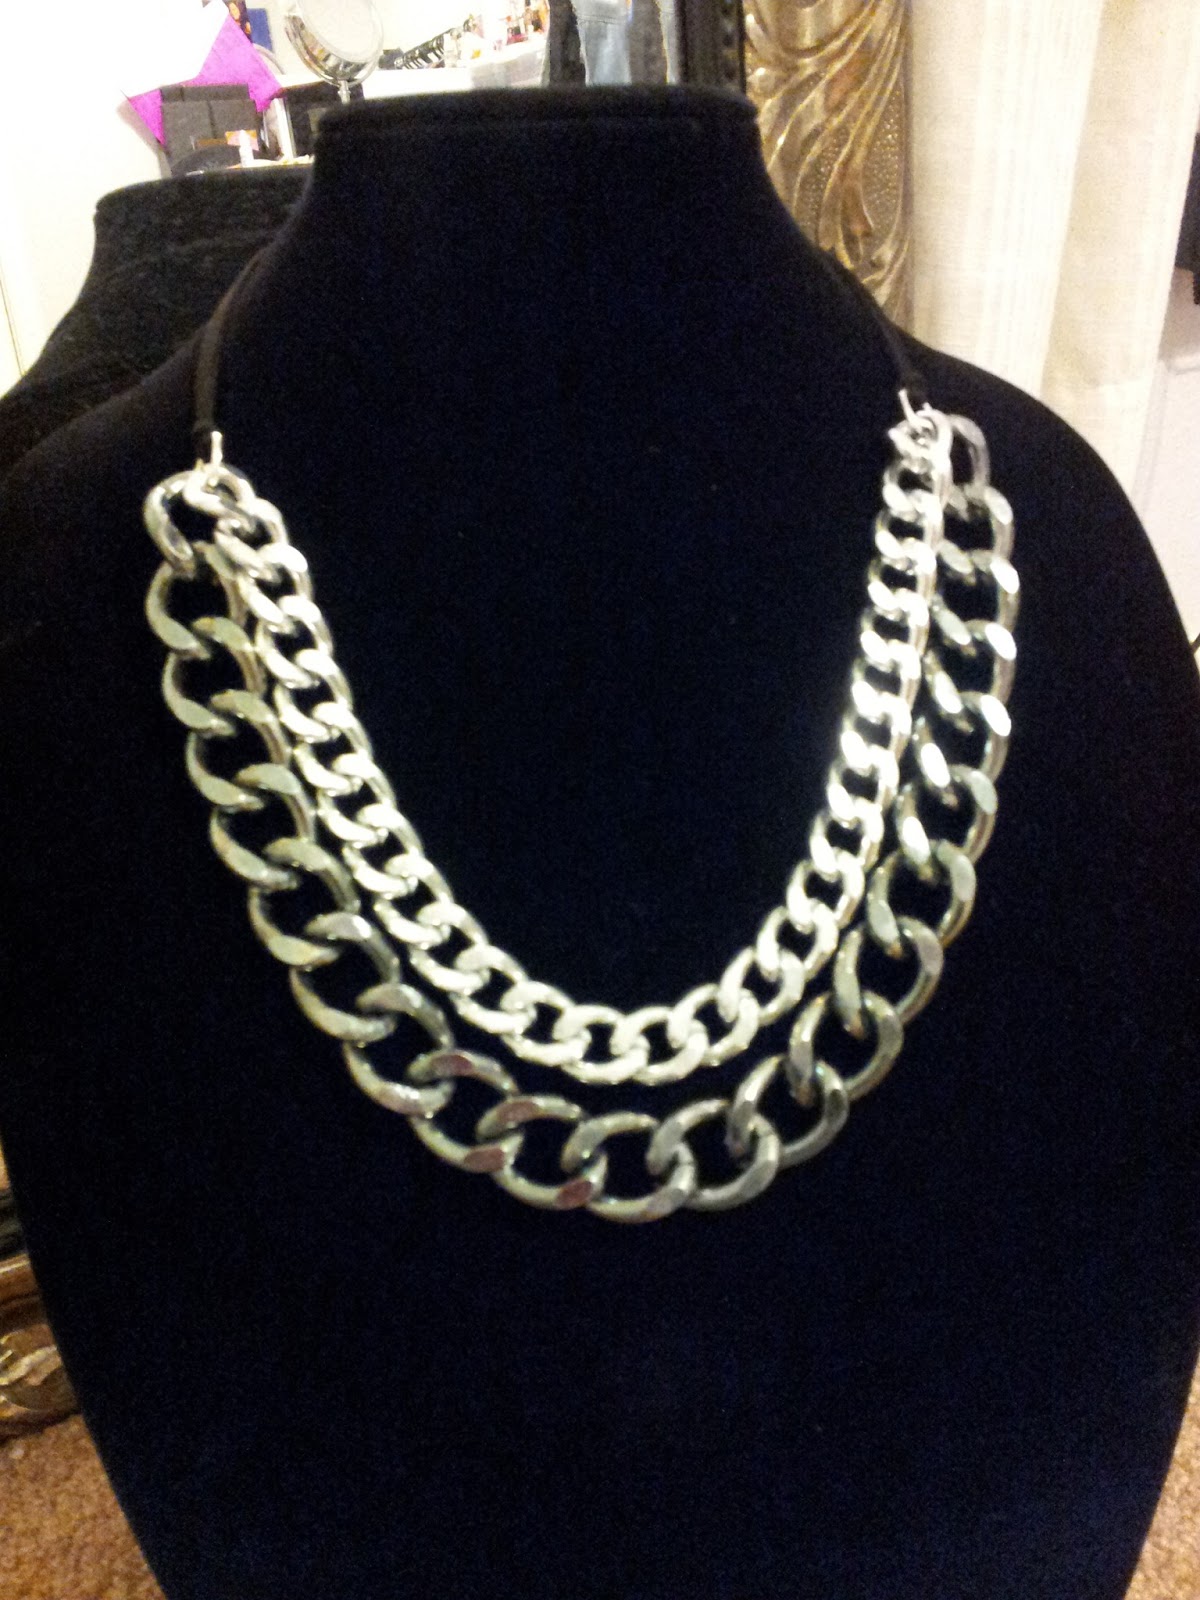
If you follow me on Instagram you may have seen that I've started my own Etsy shop. I've stated in a previous post that I was planning on doing it and I decided to just go for it. I was deliberating for about a year and only making jewelery as a hobby so I decided to go the more serious route and actually open up a store on etsy. In the past I mainly made earrings and bracelets and now I'm focusing more on bracelets and necklaces. Since the stuff I'm mostly making is with chains and crystals I figured I would name the store C&C Collection. Check out my store if you have some time.

Here are some of the pieces I've made. 


Lexi- Gold and Silver Layering Chains                              The Parisian - Tri Tiered chain necklace


My first order to a co-worker :). These will be in the shop soon.


The Hampton - Rose gold necklace


Use coupon code FFL15 to save 15% on you purchase of $50 or more now through 6/24!

Friday, April 26, 2013

DIY Studded Jean Vest


I've been wanting to get a jean vest for a while now, but haven't been able to find the right one. I got this jean jaket from the thrift store a while back that I never wore so I figured it would be perfect to turn into a vest!

I really want to get back into making things. I used to make jewelery years ago and now that I'm working part time again I think I'm going to get back into it. 


It was super easy to make. I just cut the sleeves off and used super glue gel to glue on the studs. I got the studs off of eBay for about $5 for 100 of them. The super glue gel works great on clothing cause the of the absorbency of the material. 

After I cut the sleeves off, I went in a cut a little more off because I didn't want the shoulders to be so wide. 

I paired it with a maxi dress when I went to run errands today and got a couple of compliments :)


Do you guys have any diy projects you've done recently?
Are you following me on instagram yet? Check me out :)

Tuesday, April 9, 2013

DIY Glittered Candles

I had these cheap dollar store candles lying around so I thought I would fancy them up a little bit. All you need for this is some glue (i think any glue would work), some painters tape, a cheap paint brush, glitter of your choice and a candle.

 I used fabric glue since that's all I had. The paint brush is from the dollar store and the glitter is from Michaels and walgreens (wet n wild brand from Halloween)
 Section off the candle where you would like to apply the glitter
 Apply the glue (didn't show that step) and then generously pour on the glitter. Do it over a paper plate so you can reuse what falls off. Tap it down a few times so the loose glitter comes off.
I made this one two toned.
This project was so fun and easy that I did 2 candles. The only thing I would have done differently is to apply the glitter higher up. I think I may go back in and do that for the one on the left. 


I think I may get a few more candles and just go nuts with the glitter and make them stripped or maybe do glitter swirls on them, OOoh I may do glitter swirles on the one on the left! ~

Wednesday, February 27, 2013

Cobra Horseshoe Bracelet

Thanks to Pinterest, I've found quite a few craft projects to do in my free time. I did this bracelet using craft lace. I plan to make a few more using different colors of lace. It was pretty simple to make, the hardest part is trying to figure out how much lace you need, my first attempt at it was not long enough.  So I wasted about 30 minutes till I realized I wouldn't have enough to double up on it and make it long enough. My second attempt just barely made it, thank goodness I have a child size wrist lol. I plan to make a few more of these using chain, kind of like the helloberry bracelets.


Friday, December 7, 2012

DIY - Glitter Switch Plate

I've been pretty obsessed with Pinterest for the past few months so when I came across a diy glitter switch plate tutorial I knew I had to try it since I already had everything needed to make it. 
 To start off with, I used an old switch plate I had lying around just in case I messed it up. The plate looks white here, but it was actually that old fashioned egg shell color. I sanded it really good with medium grit sandpaper so that the glitter and glue would adhere better.

 The glue I used was fabric glue since that's all I had around. I mixed it with some extra fine glitter in Champagne that I got from Michaels. In hind sight, it probably wasn't necessary to mix the glitter with the glue so you could probably skip that step and still be fine.
This is what it looks like with a thick amount of glue (1 coat)
Now work fast and cover it with a thick amount of glitter. Whatever doesn't stick can be reused so definitely apply it generously. Let it sit for about 10 minutes and then tap it on its side to get the excess off. Touch up any spots that need it. Let it dry over night and then apply 2 or 3 coats of Mod Podge acrylic sealer in a gloss finish. After the sealer dries, there should be no glitter on your fingers when you touch the plate. 
(thick amount of glitter before tapping it off)
The great thing about this sealer is that is can be used on jewelry too (another tip I learned from Pinterest). So I used it on my gold costume jewelry. Time will tell how it holds up :)


And here's the finished product, a flash was used in the top right and bottom left picture. I have some extra crystals left over from a previous craft project so I might glue it over the screws, still debating. I'm using this plate in my closet/makeup room. 


Have any of you tried this DIY? 

Wednesday, July 18, 2012

Feather Nails - How to

I was watching E! last night and I saw that feather nails are the new thing right now. Who would have thought to put feathers on their nails? We'll I'm glad they did because I think it's such a cool idea. You can do so many different styles and colors plus they are super easy to do.

[google images]

This is all you need:
feathers of your choice (I chose the colorful ones)
clear polish
nail scissors
 Put down clear polish first, then apply feather while it's still wet (I should have placed it higher on the nail, but this was my first go at it)

 Trim off access and put another coat of clear polish on top

This was my finished result. Instead of clear, you can use colored polish as your base. I think bright blue nails with yellow feathers would look especially amazing. 

You could even try tips like this
[google images]


Have you tried feathering your nails yet?
Related Posts Plugin for WordPress, Blogger...